
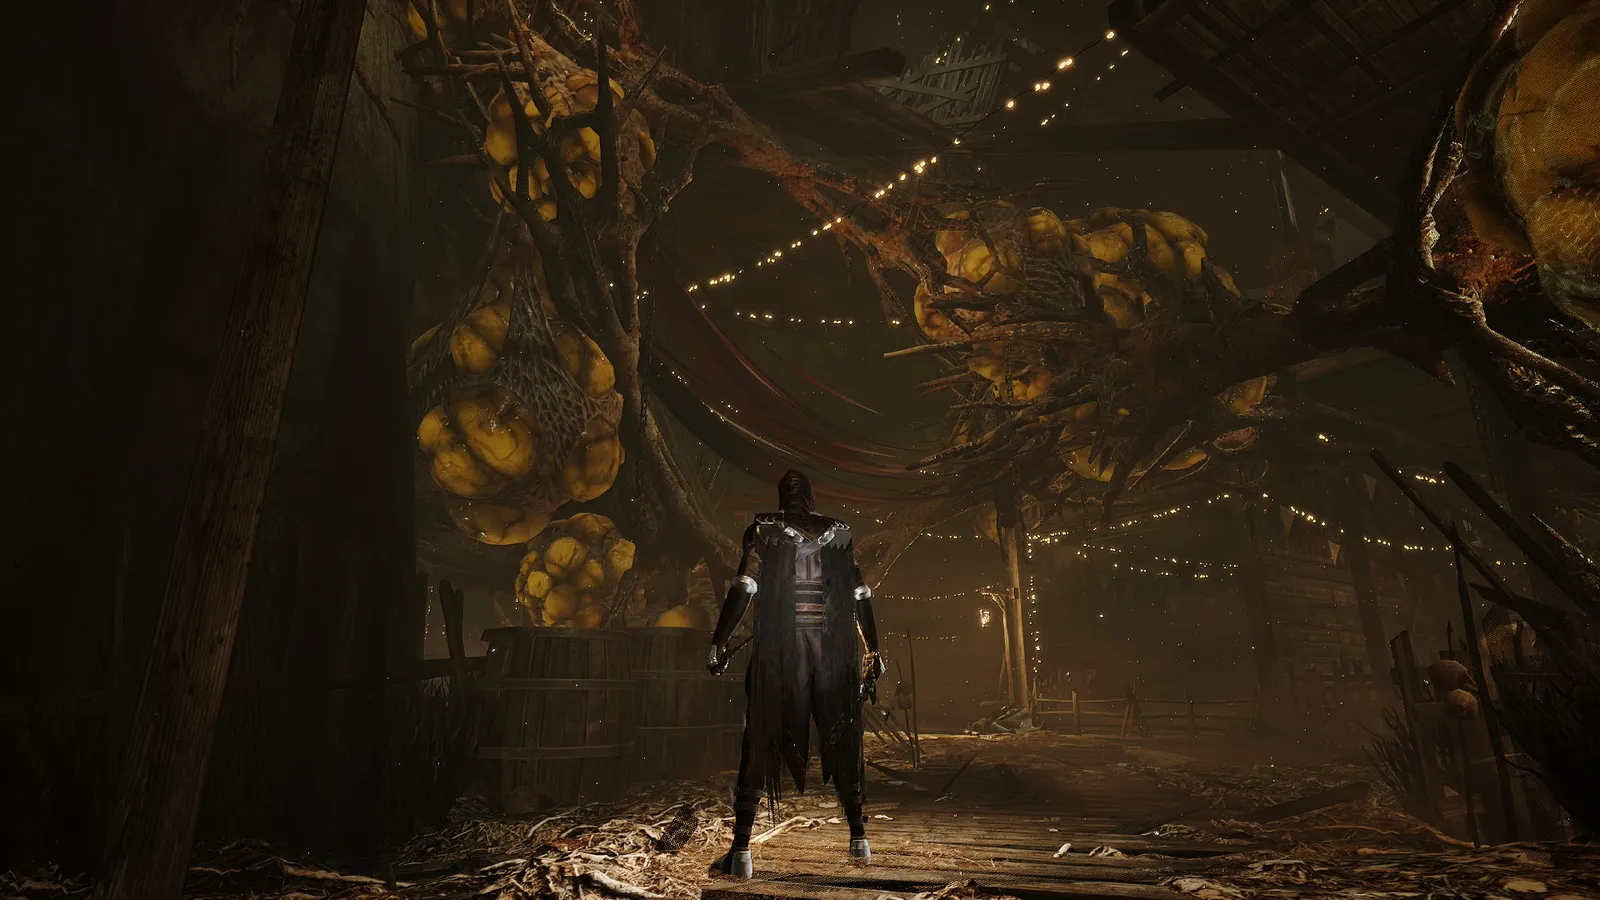
Thymesia has 88 talents in 6 branches: Saber, Deflect, Dodge, Claw, Feather and Strategies. 13 come already learned. Each talent costs 1 point, you earn one per level up to level 25 and you can unlearn them for free at any Beacon. Prioritize Full Winged Lv2 (more feathers), Deflect Lv2, Predator’s Claw Lv2 and Plague Weapon Lv2 (second weapon slot).
The talent tree
88 talents in 6 branches
- Saber16
- Deflect11
- Dodge10
- Claw13
- Feather19
- Strategies19
Count and effects: community wiki (Fandom), with the in-game text.
How talents work
Each level up gives one talent point, but only up to level 25 (the max is 50). Some lines are mutually exclusive: learning one locks the other (for example, Short Dodge or Long Dodge). Since they reset for free at the Beacon, experiment without fear. To also reset your attributes you need a Forgotten Feather.
Which talents to take first
- Full Winged Lv2Five feathers: more critical interrupts and more ranged wounds.
- Deflect Lv2Slows the enemy counterattack meter and opens the Reckless or Precise Deflect branches.
- Predator’s Claw Lv2Super Armor while you charge to reave weapons.
- Plague Weapon Lv2Second slot for unlocked weapons.
- Short DodgeA second dodge: essential against Odur and Varg.
Key talents by goal
| Goal | Talents | Branch |
|---|---|---|
| More feathers | Full Winged Lv2-Lv3, Growing Feathers | Feather |
| Slow down counterattacks | Deflect Lv2, Dodge and Stab Lv2, Feather Dart Lv4 | Deflect, Saber, Feather |
| Deflect criticals | Precise Deflect Lv2 | Deflect |
| Take less damage | Defence Lv3, Blessing, Long Dodge Lv2 | Deflect, Strategies, Dodge |
| Energy for weapons | Energised Claws, Energised Weapon, Energised Feather, Energy Reflux | Several |
| More loot | Luck Lv1-Lv3 | Strategies |
| Wounds that don’t close | Plague Wounds Lv2-Lv3 | Strategies |
Official English talent names (their official Spanish translation is not confirmed).
Recommended builds
- Saber and feathers (fast): Saber Attacks Lv2, Dodge and Slash, Sharp Weapons, Full Winged Lv3 and Feather Dart. High Strength.
- Deflect and claws: Precise Deflect Lv2 (deflects criticals), Long Claw Lv3, Energised Deflect and Defence if you prefer safety. High Plague.
- Plague Weapons: Plague Weapon Lv2 and Lv3, Energised Claws, Energised Feather, Perfectionist or Adrenaline Lv2 and Energy Reflux, so you never run out of energy.
- Against Corvus (community wiki): Short Dodge Lv1 and Dodge and Slash Lv2 to dodge without leaving range, a maxed Bow with bleed, Long Claw Lv3 or Feather Dash to cash in, and Short Claw Lv2 to punish at the end of his combos.
Switch to Plague Wounds Lv2 and Lv3 before a boss: its wounds take longer to close and your claw gets far more value.
Saber branch
Saber attacks (they mainly damage Wounds).
- Saber Attacks: Saber Attacks Lv1 (starting) — Fast saber attacks of up to 3 hits. Saber Attacks Lv2 — Fast saber attacks of up to 5 hits.
Choose one:- Dodge and Slash: Dodge and Slash Lv1 — [Saber Attack] right after dodging performs a slash; after it, saber attacks start from the 3rd hit of the combo. Dodge and Slash Lv2 — Increases the damage of the saber attack and the slash.
- Dodge and Stab: Dodge and Stab Lv1 — [Saber Attack] right after dodging performs a stab. Dodge and Stab Lv2 — Saber attacks and stabs fill the enemy counterattack meter less.
- Saber In-Air Attack: Saber In-Air Attack Lv1 (starting) — In the air, [Saber Attack] performs a quick downward slash. Saber In-Air Attack Lv2 — Increases the damage of the saber air attack. Saber In-Air Attack Lv3 — If the air attack hits, it reduces the enemy counterattack meter.
- Execution: Execution (starting) — Approach a staggered enemy and execute it. Executions use [Saber Attack]; the enemy is staggered once its health is emptied. Healing Execution Lv1 — After an execution, recover some health and energy based on the enemy’s level. Healing Execution Lv2 — Increases the energy recovered after an execution.
- Sharp Weapons: Sharp Weapons Lv1 — Increases the damage of saber attacks. Sharp Weapons Lv2 — Further increases the damage of saber attacks.
- Energised Weapon: Energised Weapon Lv1 — Recover energy when hitting with saber attacks. Energised Weapon Lv2 — Increases the energy recovered with saber attacks.
Deflect branch
Deflecting (parrying) with the dagger and defense.
- Deflect: Deflect Lv1 (starting) — Use the dagger to repel basic attacks: it cancels them and damages the enemy at the same time.
Choose one:- Deflect Lv2: Deflect Lv2 — A successful deflect reduces the enemy counterattack meter.
Choose one:- Reckless Deflect: Reckless Deflect Lv1 — Slightly extends the deflect window, but reduces its damage. Reckless Deflect Lv2 — Further extends the deflect window, but reduces its damage.
- Precise Deflect: Precise Deflect Lv1 — Increases deflect damage. Precise Deflect Lv2 — Lets you deflect enemy critical attacks; Corvus is knocked back and gains 1 “Offensive” stack.
- Defence: Defence Lv1 — Holding [Deflect] activates defense mode: reduces basic attack damage by 75%; doesn’t protect against criticals. Defence Lv2 — Defense mode: reduces basic attack damage by 85%; doesn’t protect against criticals. Defence Lv3 — Defense mode: reduces basic attack damage by 85% and critical attack damage by 75%.
- Deflect Lv2: Deflect Lv2 — A successful deflect reduces the enemy counterattack meter.
- Energised Deflect: Energised Deflect Lv1 — A successful deflect or block recovers some energy. Energised Deflect Lv2 — Increases the energy recovered when deflecting or blocking.
Dodge branch
Dodges.
- Dodge: Dodge (starting) — Dodge basic attacks and avoid all damage.
Choose one:- Short Dodge: Short Dodge Lv1 — Allows a second dodge. Short Dodge Lv2 — A successful dodge grants 1 “Offensive” stack.
- Long Dodge: Long Dodge Lv1 — Lets you dodge twice; the second dodge is longer. Long Dodge Lv2 — A successful dodge grants 1 “Defensive” stack.
- Step and Jump: Step and Jump Lv1 — [Dodge] toward the enemy just before its critical attack lands to jump and interrupt it. Step and Jump Lv2 — A successful Step and Jump recovers some energy. Step and Jump Lv3 — A successful Step and Jump reduces the enemy counterattack meter.
- Quick-Recovery: Quick-Recovery Lv1 — During certain hit animations, [Dodge] to get up quickly. Quick-Recovery Lv2 — Triggering Quick-Recovery grants 1 “Defensive” stack.
Claw branch
Claws: they damage the real health that wounds leave exposed and let you reave weapons.
- Long Claw: Long Claw Lv1 (starting) — A lunging claw attack. Claws deal heavy damage to the enemy’s wounds.
Choose one:- Long Claw Lv2: Long Claw Lv2 — [Claw Attack] again right after a Long Claw for a second attack. Long Claw Lv3 — Same as Lv2; the second Long Claw deals 20% more damage.
- Short Claw: Short Claw Lv1 — A close-range claw series of up to 3 hits; each hit grants 1 “Offensive” stack. Short Claw Lv2 — With 5 “Offensive” stacks, each Short Claw that hits heals some health.
- Predator’s Claw: Predator’s Claw Lv1 (starting) — Hold [Claw Attack] to charge; releasing at full charge deals heavy damage to wounds and reaves (Reave) the enemy’s Plague Weapon. Predator’s Claw Lv2 — Super Armor during the Predator’s Claw. Predator’s Claw Lv3 — On hit, 1 “Offensive” and 1 “Defensive” stack.
- Energised Claws: Energised Claws Lv1 (starting) — Recover energy every time your claws deal damage. Energised Claws Lv2 — Recover more energy with your claws.
- Gliding Claw: Gliding Claw Lv1 — In the air, [Claw Attack] performs a gliding claw that deals heavy damage to wounds. Gliding Claw Lv2 — Increases Gliding Claw damage. Gliding Claw Lv3 — On hit, 1 “Offensive” stack and 1 “Defensive” stack.
Feather branch
Feathers: projectiles that leave wounds and interrupt critical attacks.
- Feather Dart: Feather Dart Lv1 (starting) — Throw feathers like darts that leave wounds; they interrupt critical attacks. Feather Dart Lv2 — Interrupting a critical with a feather grants 1 “Predator’s Swiftness” stack: your next Predator’s Claw charges much faster.
Choose one:- Feather Dart Lv3: Feather Dart Lv3 — Feathers leave more wounds. Feather Dart Lv4 — Interrupting a critical with a feather resets the enemy counterattack meter. Feather Dart Lv5 — Interrupting a critical with a feather recovers 1 feather.
- Feather Dash: Feather Dash Lv1 — After throwing a feather, [Feather Attack] again to dash toward it (Feather Dash). Uses 1 feather. Feather Dash Lv2 — A Feather Dash that hits reduces the enemy counterattack meter. Feather Dash Lv3 — A Feather Dash that hits grants 1 “Offensive” stack and 1 “Defensive” stack.
- Intercept Wing: Intercept Wing Lv1 — Instead of throwing feathers, Corvus strikes in melee with his wing; it interrupts criticals. Uses 1 feather. Intercept Wing Lv2 — Interrupting a critical recovers some energy. Intercept Wing Lv3 — Interrupting a critical resets the enemy counterattack meter and grants 1 “Offensive” stack.
- Full Winged: Full Winged Lv1 (starting) — Corvus carries up to 3 feathers. Full Winged Lv2 — Max feathers: 5. Full Winged Lv3 — Max feathers: 7.
- Growing Feathers: Growing Feathers Lv1 (starting) — Regenerates one feather every 10 s. Growing Feathers Lv2 — Regenerates one feather every 8 s. Growing Feathers Lv3 — Regenerates one feather every 6 s.
- Energised Feather: Energised Feather Lv1 — Each Feather Dart, Feather Dash or Intercept Wing that hits recovers a little energy. Energised Feather Lv2 — Recovers a bit more energy with those same hits.
Strategies branch
Strategies: Plague Weapons, wounds, luck, energy and passive buffs.
- Plague Weapon: Plague Weapon Lv1 (starting) — Carry two Plague Weapons at once: one unlocked with Skill Shards and one reaved in combat. [Plague Weapon Attack] uses the equipped one; [Reaved Weapon Attack], the reaved one. Plague Weapon Lv2 — Second slot for weapons unlocked with Skill Shards. [Plague Weapon Switch] toggles between 1 and 2. Plague Weapon Lv3 — If you don’t have enough energy, it consumes health instead; health doesn’t drop below 1.
- Plague Wounds: Plague Wounds Lv1 (starting) — Damage leaves wounds on the enemy. Wounds are temporary and heal after a while if you stop dealing damage. Plague Wounds Lv2 — Extends the time before wounds start to heal. Plague Wounds Lv3 — Extends it even further and slows the healing speed.
- Blessing: Blessing Lv1 — When taking damage, 30% chance to reduce it by 10%. Blessing Lv2 — When taking damage, 30% chance to reduce it by 20%. First Aid — When you take lethal damage and still have a potion, it is used automatically. Only once; it resets when you rest at the Beacon.
- Energy Reflux: Energy Reflux Lv1 — After taking damage, recover a little energy. Energy Reflux Lv2 — After taking damage, recover a moderate amount of energy. Energy Reflux Lv3 — After taking damage, recover a lot of energy.
- Luck: Luck Lv1 — Slightly increases the loot rate. Luck Lv2 — Moderately increases the loot rate. Luck Lv3 — Greatly increases the loot rate.
- Perfectionist: Perfectionist Lv1 — At full health, 1 permanent “Offensive” stack; lost when you take damage. Perfectionist Lv2 — At full health, 1 permanent “Energy Restore” stack; lost when you take damage.
- Adrenaline: Adrenaline Lv1 — Below 20% health, 1 permanent “Offensive” stack; lost when you go above 20%. Adrenaline Lv2 — Below 20% health, 1 permanent “Energy Restore” stack; lost when you go above 20%.
Frequently asked questions
How many talents does Thymesia have?
88 in 6 branches; 13 come learned from the start.
How many talent points are there?
One per level up to level 25. After that, leveling up only improves attributes.
How do you reset talents?
For free when resting at a Beacon. To reset your level and attributes you need a Forgotten Feather.
Short Dodge or Long Dodge?
Short Dodge to stay close and counterattack; Long Dodge if you struggle to escape criticals and ultimates.
Keep reading
Sources
- Talents · Thymesia Wiki (Fandom, fan wiki)
- Corvus · Thymesia Wiki (Fandom, fan wiki)
- Thymesia Beginner Guide: Top 10 Things All Players Should Know · Fextralife
- Thymesia: max level and talent points · SimpleGamer
- Forgotten Feather · Thymesia Wiki (Fandom, fan wiki)
Accessed on November 20, 2026. Guía Thymesia is an unofficial fan site.